Follow the work from first click to final share.
Each workflow connects what the user sees with what Clientana stores or processes behind the scenes.
Workflow 1: record an async walkthrough
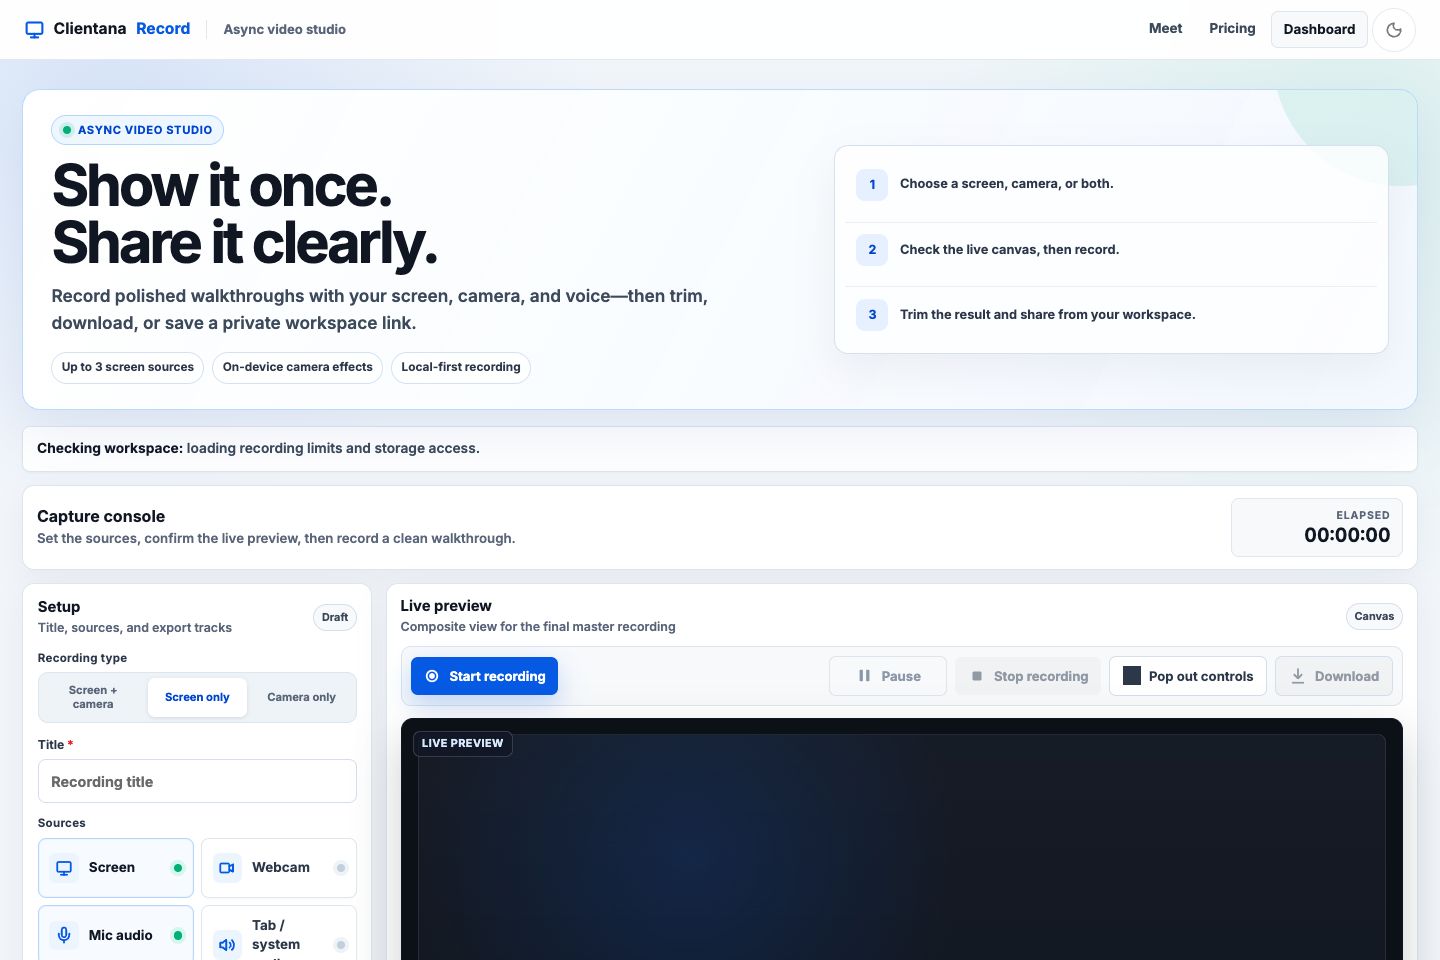
Choose Screen + camera, Screen only, or Camera only. Add up to three screen or tab sources.
Name the recording, enable microphone or system audio, choose camera placement and effects, and select a countdown.
The canvas shows the master output before recording. Separate source export can preserve clean tracks for later editing.
Pause or stop from the capture console or keyboard shortcuts. Clientana prepares the resulting browser media.
Guest and free users download locally. A paid user can upload the finished asset to the active workspace.
A saved asset can be processed, titled, summarized, organized, shared, password-protected, embedded, exported, and measured.
Workflow 2: host a live meeting
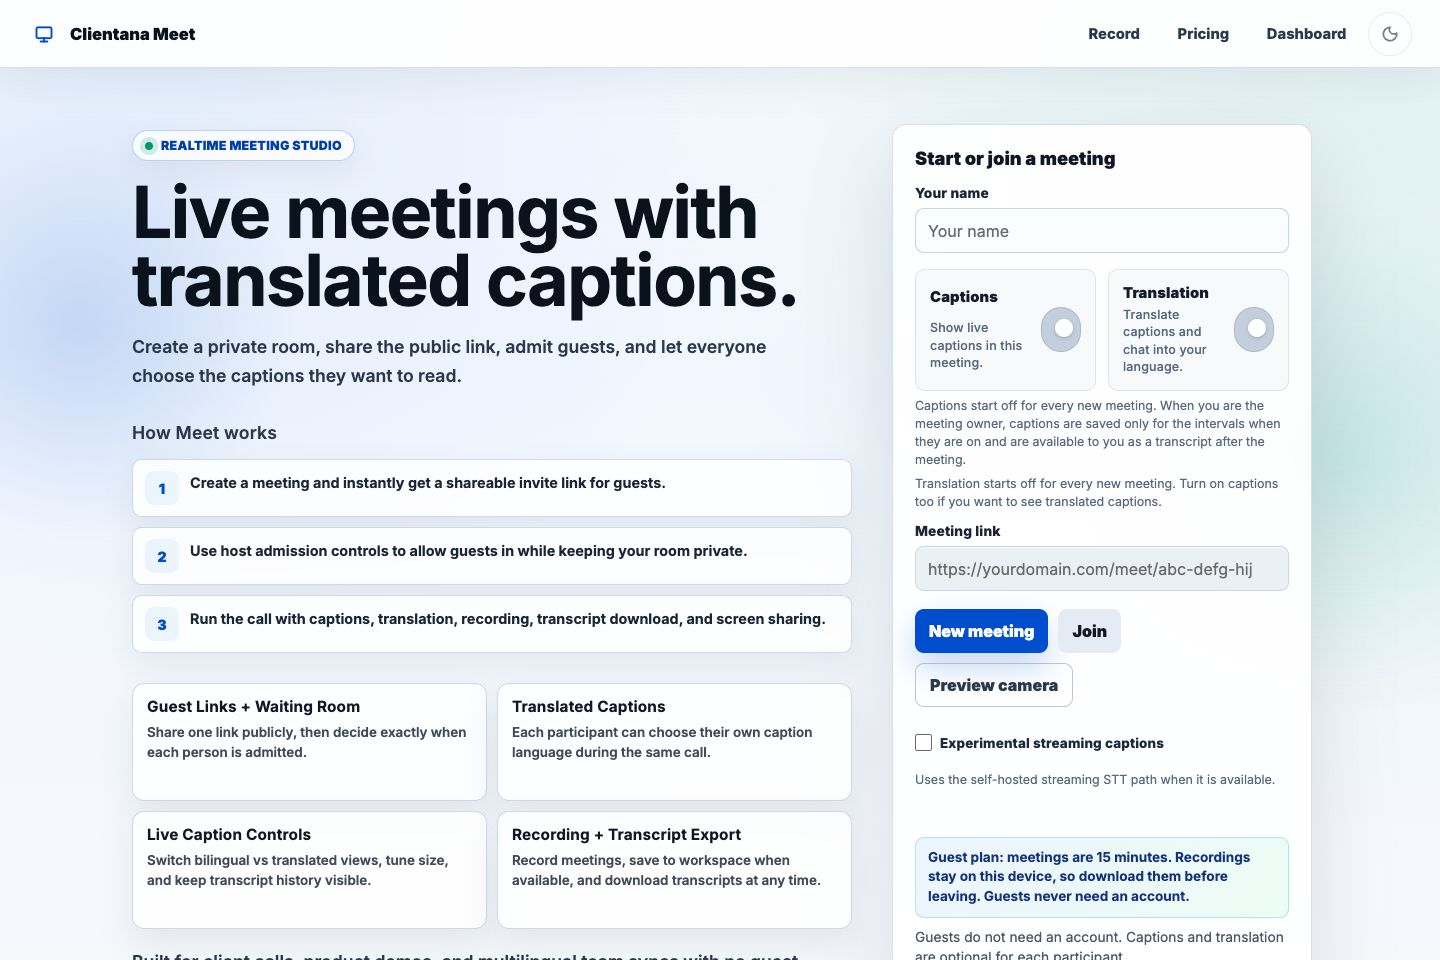
Enter a display name, choose optional captions and translation, and create a fresh room link.
Share the regular meeting URL with guests. The host URL contains admission control and must remain private.
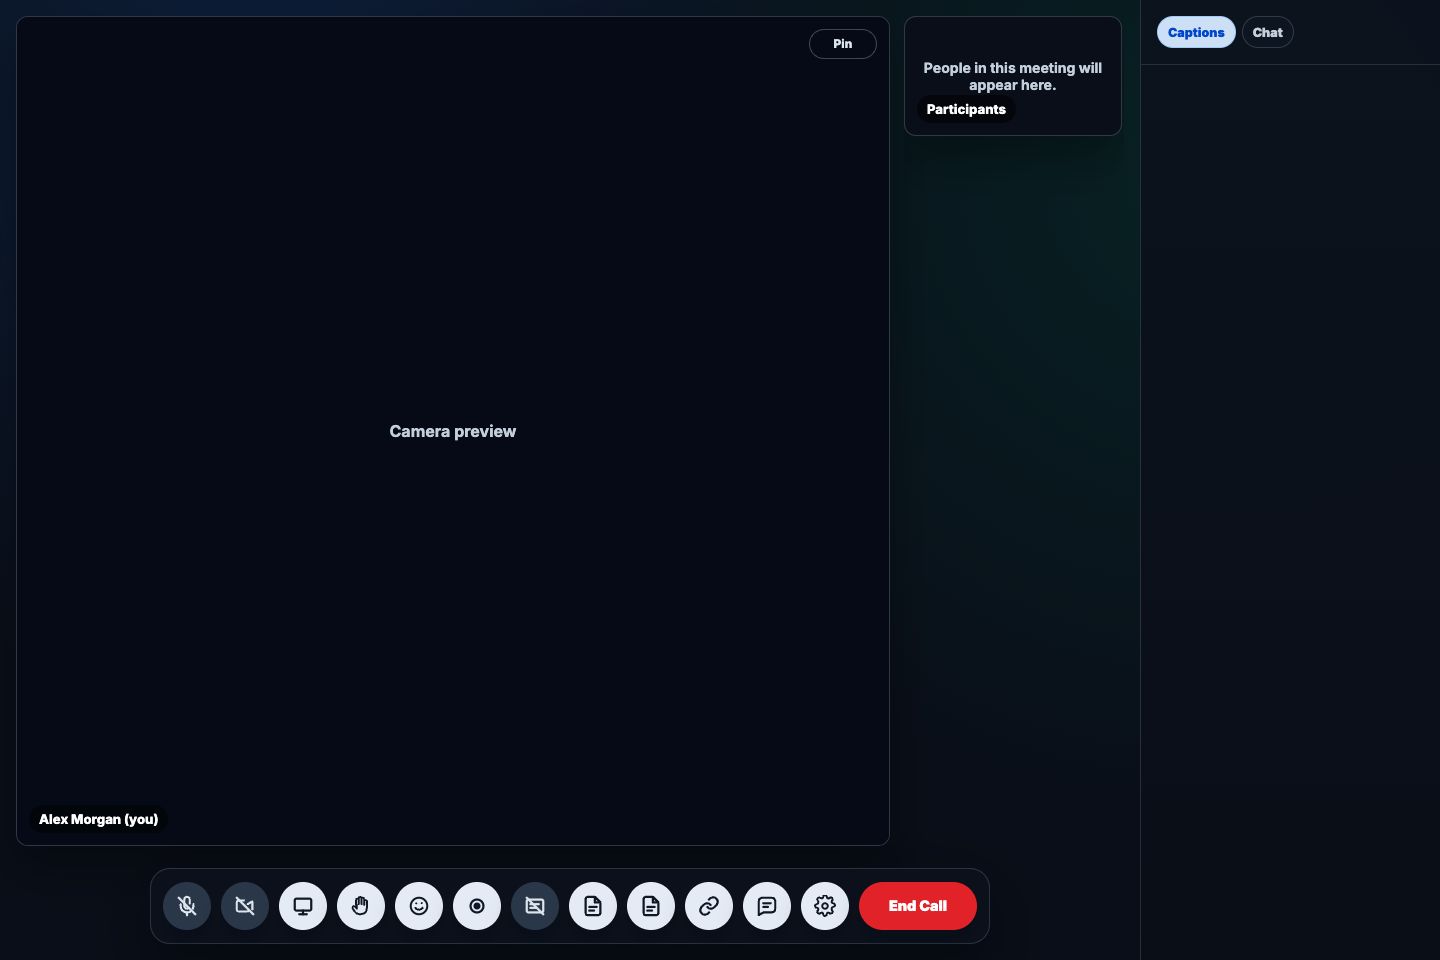
The host enters first. Guests request admission and remain in the waiting room until admitted or denied.
Participants can use microphone, camera, screen sharing, reactions, chat, captions, translation, and transcript controls.
Local recording remains available by plan. Paid hosts can use server recording when the configured SFU and egress path are available.
Paid meeting capture can become a workspace recording with transcript-backed recap, decisions, action items, clips, and exports.
Workflow 3: turn a saved video into a controlled share
Open a processed recording or saved meeting from the active tenant library.
Update title and description, organize it into a folder, review transcript-derived metadata, and create a new version if needed.
Enable a share link and select public or password-protected access. Rotate the link or set an expiry when appropriate.
Control video, transcript, translation history, meeting metadata, branding, comments, CTA, and download visibility.
Use the default Clientana host or a verified custom record/all-purpose domain when the workspace is entitled.
Viewer insights can show views, watch-time behavior, comments, and attention signals for paid workspaces.
Workflow 4: connect a custom domain
- A paid workspace admin adds a domain and chooses
record,meet, orall. - Clientana returns TXT ownership instructions and CNAME or A/AAAA routing instructions.
- The admin adds the DNS records at the domain provider.
- The admin triggers verification; the worker also rechecks pending domains.
- After ownership and routing pass, Caddy/Cloudflare for SaaS can authorize and issue TLS for the hostname.
- Public links prefer the verified primary domain for the matching purpose. Auth, billing, dashboard, and admin screens remain on the primary app origin.